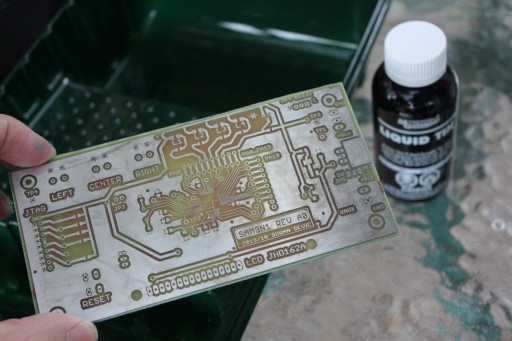
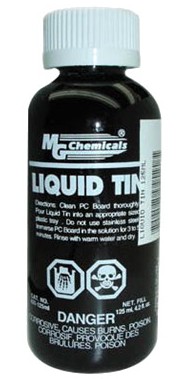
This step is optional, and many people skip it. Copper will oxidize over time, and this simple step will protect it. I’ve found several methods to be reasonable but I always use the liquid tin to start.
Liquid tin can be reused and a small bottle will last you a long time. Make sure the liquid does not get dirty as you pour it out and back into the bottle. Find a very clean plastic container that is just a bit larger than your board and fill it with tin; not too much but enough for your board to rock through it. Use nitrile gloves and do it outside or in a well-ventilated area.
First clean the board with acetone or alcohol, wiping it with paper towels. Acetone works better; it is stronger than the alcohol (however, I only had 91% alcohol, perhaps a stronger one works better?) Acetone will slightly corrode the copper and hence a slight green/blue tint on the wipes. It will instantly clean the photoresist. After cleaning wash the board in the water and dry it with a paper towel.
Dump the board into a tray with liquid tin and start rocking it from side to side. Within a minute copper will be covered with tin. Keep doing it for about a minute as the tin is chemically bonding and building a layer over copper. Rinse with clean water and dry it with a towel.
Pour the unused liquid tin back into its container to be reused.
You can repeat tinning if you see any parts of the board getting darker (oxidizing). I have repeated it after a drilling stage due to one corner somehow getting oxidized (tin will also oxidize, but it will take much longer). Perhaps I did not bathe it in liquid tin long enough the first time around and the tin layer was too thin. In fact, it looked a bit blotchy after the first tinning as you can see in the picture below. I believe that was caused by not properly drying the board after washing it with acetone.

There are other ways to protect your board. Some people are using colored enamel like a green lacquer. This looks great, but it takes a long time to cure (up to 48hrs).
Using the enamel does not necessarily preclude tinning your board. You could tin it and then use the enamel for a nicer look. Apparently, these “Testors” enamel sprays can be soldered through. I did not try them, though.
https://www.amazon.com/Orange-Spray-Testors-Enamel-Plastic/dp/B0038352NG
Tools: Cleaning (acetone or alcohol), paper towels, liquid tin, nitrile gloves, plastic container, water


Of course it works! You just need to take a few mtuines of your time to mix it up and it’ll last you for a long time.I’m still trying to decipher what these no-clean flux patents say lots of strange chemicals, which I don’t have access too so clearly most people wouldn’t either. But, there has to be an easier way. Gotta keep looking.
you ever figure out that blotch? I just encountered it as well.. I hit it with sand paper and rinsed in acetone then distilled water to try again. same thing second time and I also noticed when i went to rinse some of the tin came off. so far im less than impressed with tinnning using the toxic waste method (what fluoride was considered before some rich people paid to have a study done saying it was good for teeth)
No, but the board looks the same after 3 years of sitting on my window sill and occasionally being handled by various visitors, no signs of oxidation, so I do like the method. I did not try the colored enamel layer yet, so if you have a chance to test that (and/or on top of the tinning), I would be very interested to find out how it works and how it looks at the end.