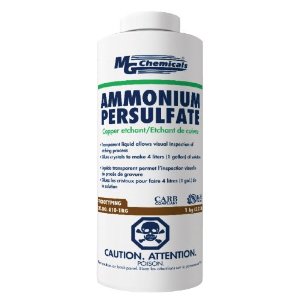
There are several kinds of etchants; I am using Ammonium persulfate solution from MG chemicals. It comes as loose powder or crystals. The content releases gasses over time, so you should punch a small hole on the lid of its plastic bottle. These are dangerous and corrosive chemicals, so use a lot of common sense when working with them. There are several variables in the process that you can try to control for the most efficient etching. The goal is to have the shortest etching time and minimal use of etchant chemicals. There is a sweet point in that compromise and you can reach it by experimentation.
Here are the variables:
- Etchant solution temperature: the ideal temperature of the solution is around 120F (50C). You should not go above 130F (it starts fizzling and producing more dangerous gasses such are Sulfur Oxides, Nitrogen Oxides and Ammonia. Not pleasant.) On the other hand, don’t have it too much below 120F since it will take progressively longer time and eventually will not work.
- Etchant capacity: the mass of powder needed to etch a given mass of copper. I have provided a handy etchant calculator below where you can calculate much do you need for a board.
- Physical agitation during the process: this may be air bubbles or using a foam brush. This will speed up the process.
I have created a spreadsheet document that calculates the (minimum) of the required quantity of etchant. Simply type in your specific board numbers and it will calculate the rest:
The best method I’ve found works for me is pictured here:
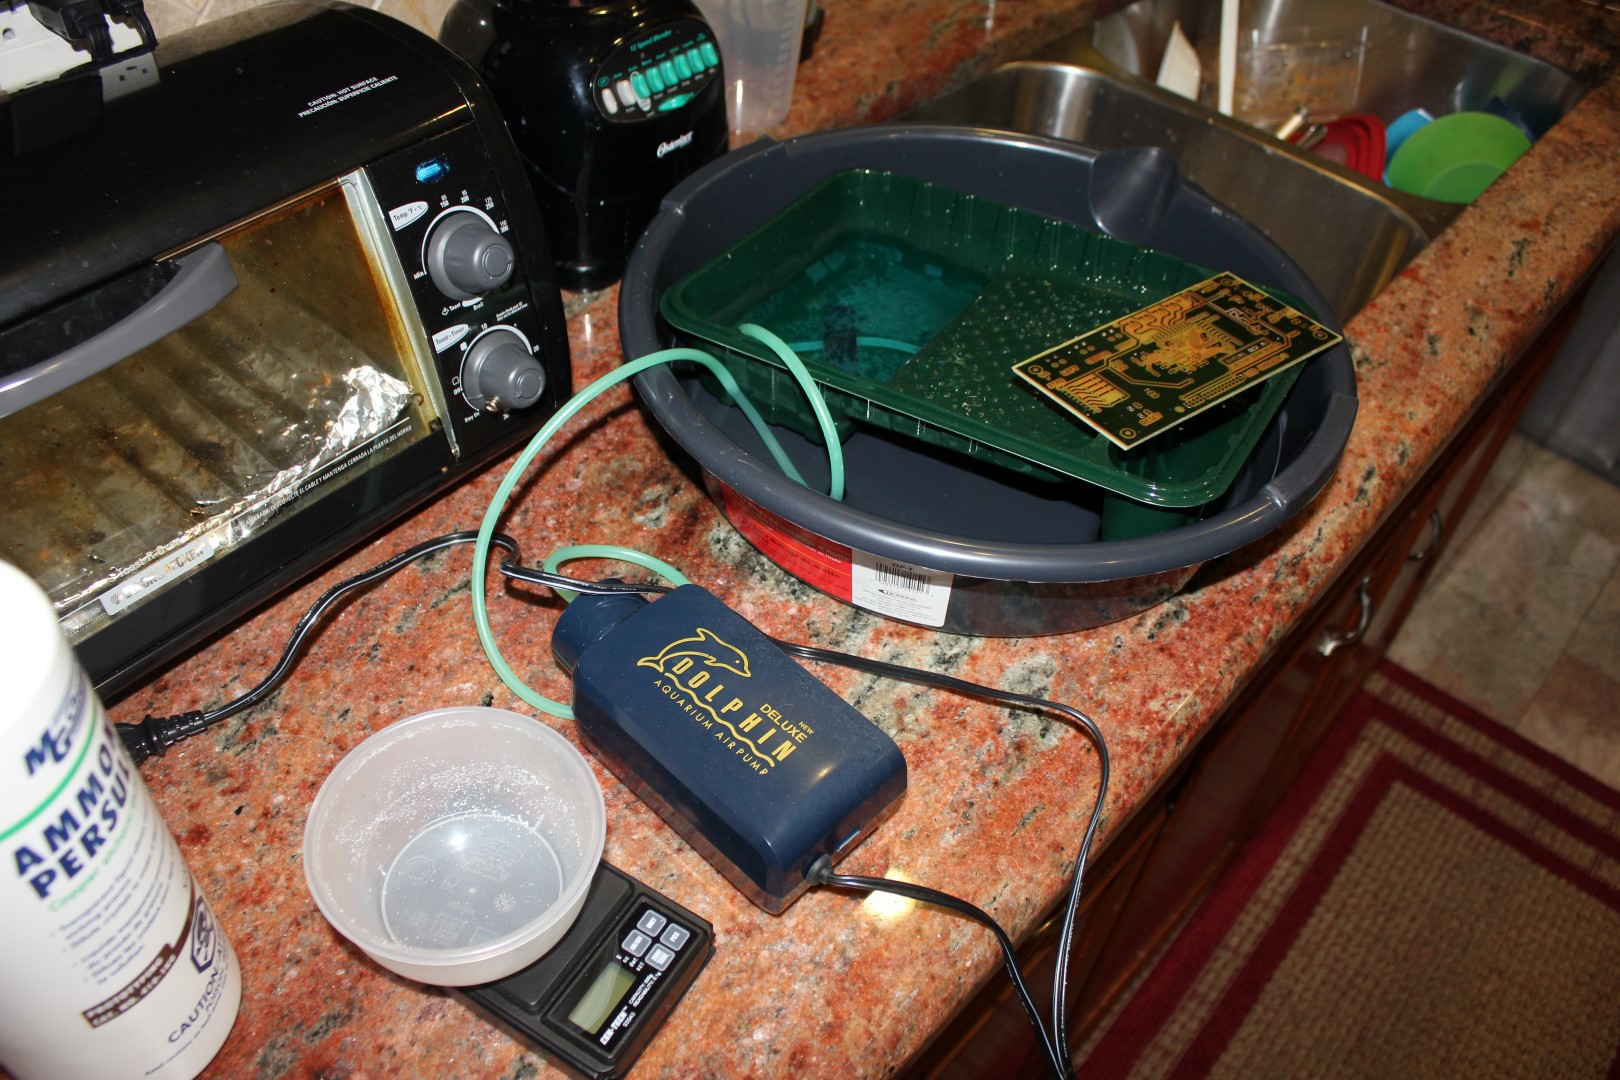
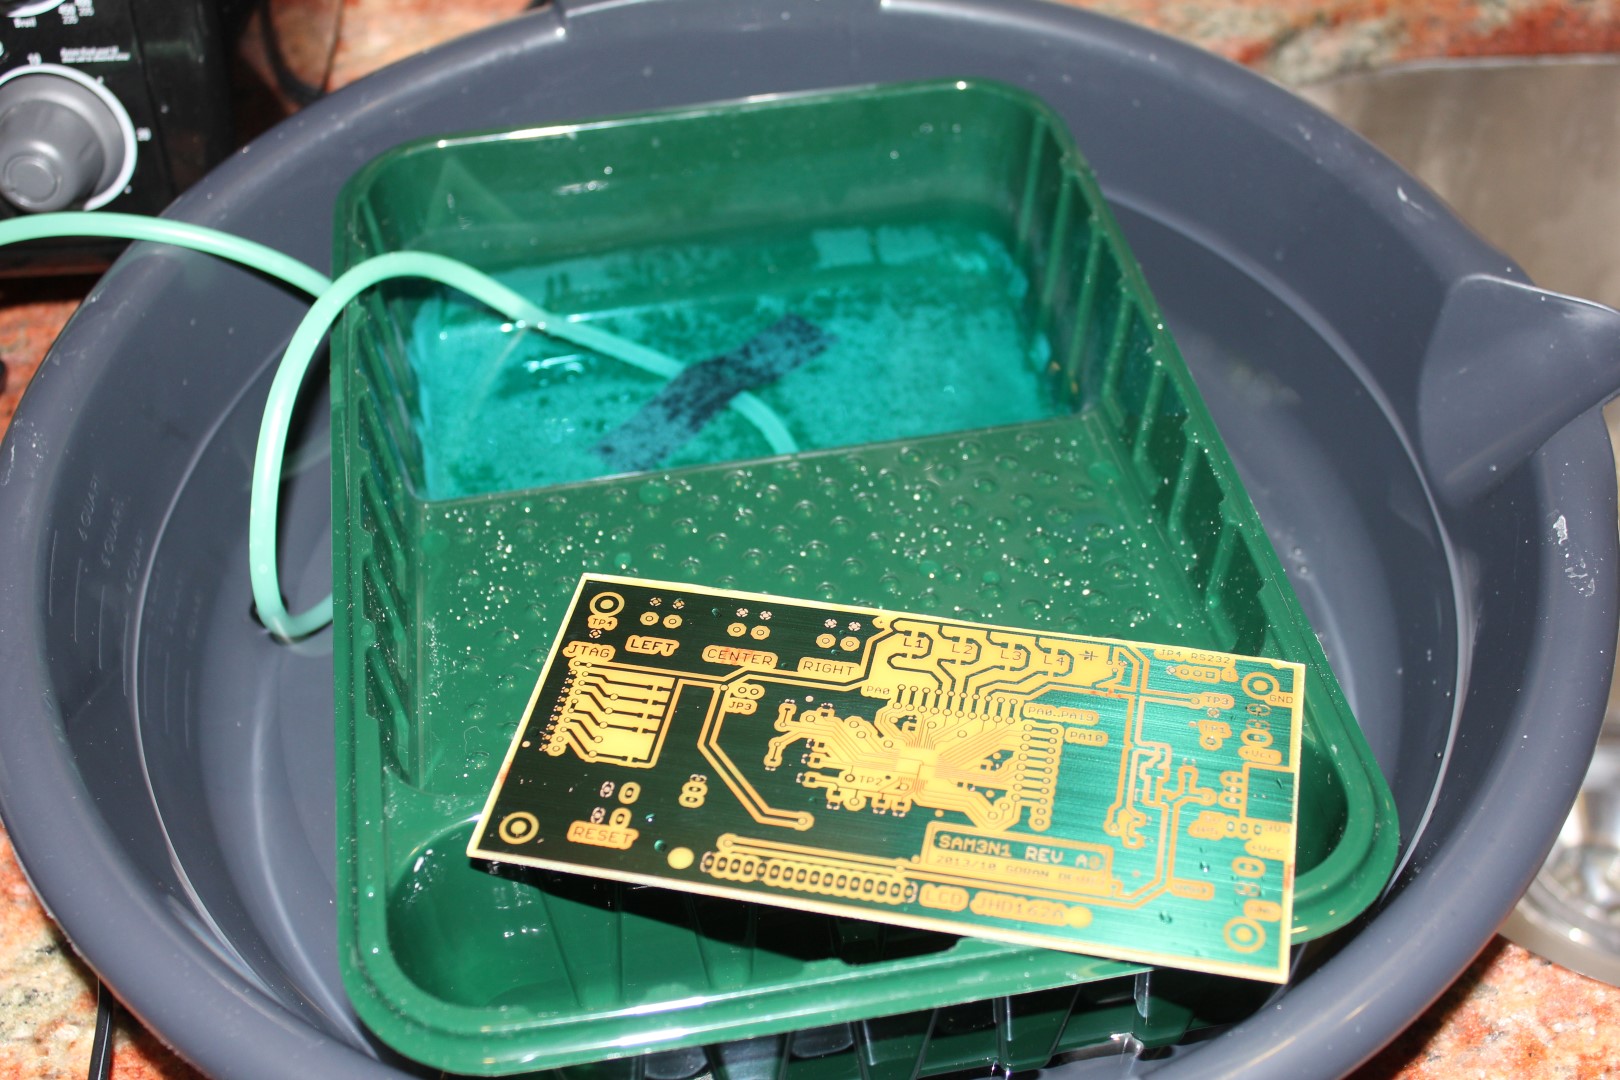
I use an aquarium air pump to agitate the etching solution which is mixed in the inner painter’s plastic tray (green). That tray is immersed (it floats) in an oil-changing tray. I fill both of them with really hot water (as close to 120F as I can) and then during the etching process, I keep adding hot water into the outside larger tray as it cools, as needed. That keeps the inner tray containing etchant solution at the right temperature.
Using heavy-duty gloves, I occasionally move the board across the air bubbles and lift it up to check the progress. I also use a foam brush for additional agitation. Be gentle with the brush so you don’t knock off tiny traces, especially towards the end of the process.
An interesting thing is that you will not see much progress until the board is about 90% etched. Until then, you will probably wonder if it worked. The tendency is to add more etchant. Don’t! If you have measured everything well, keep agitating and soon you will start seeing gaps in the copper. Then, you are 95% done.
When done, wash the board in plain water.
If it takes more than 30 minutes, something is not right. Perhaps the solution got too cold, or you did not add enough etchant in the first place. You can always try again, but there will be a point when the material masking the traces will start softening and falling off at which point your board is ruined.
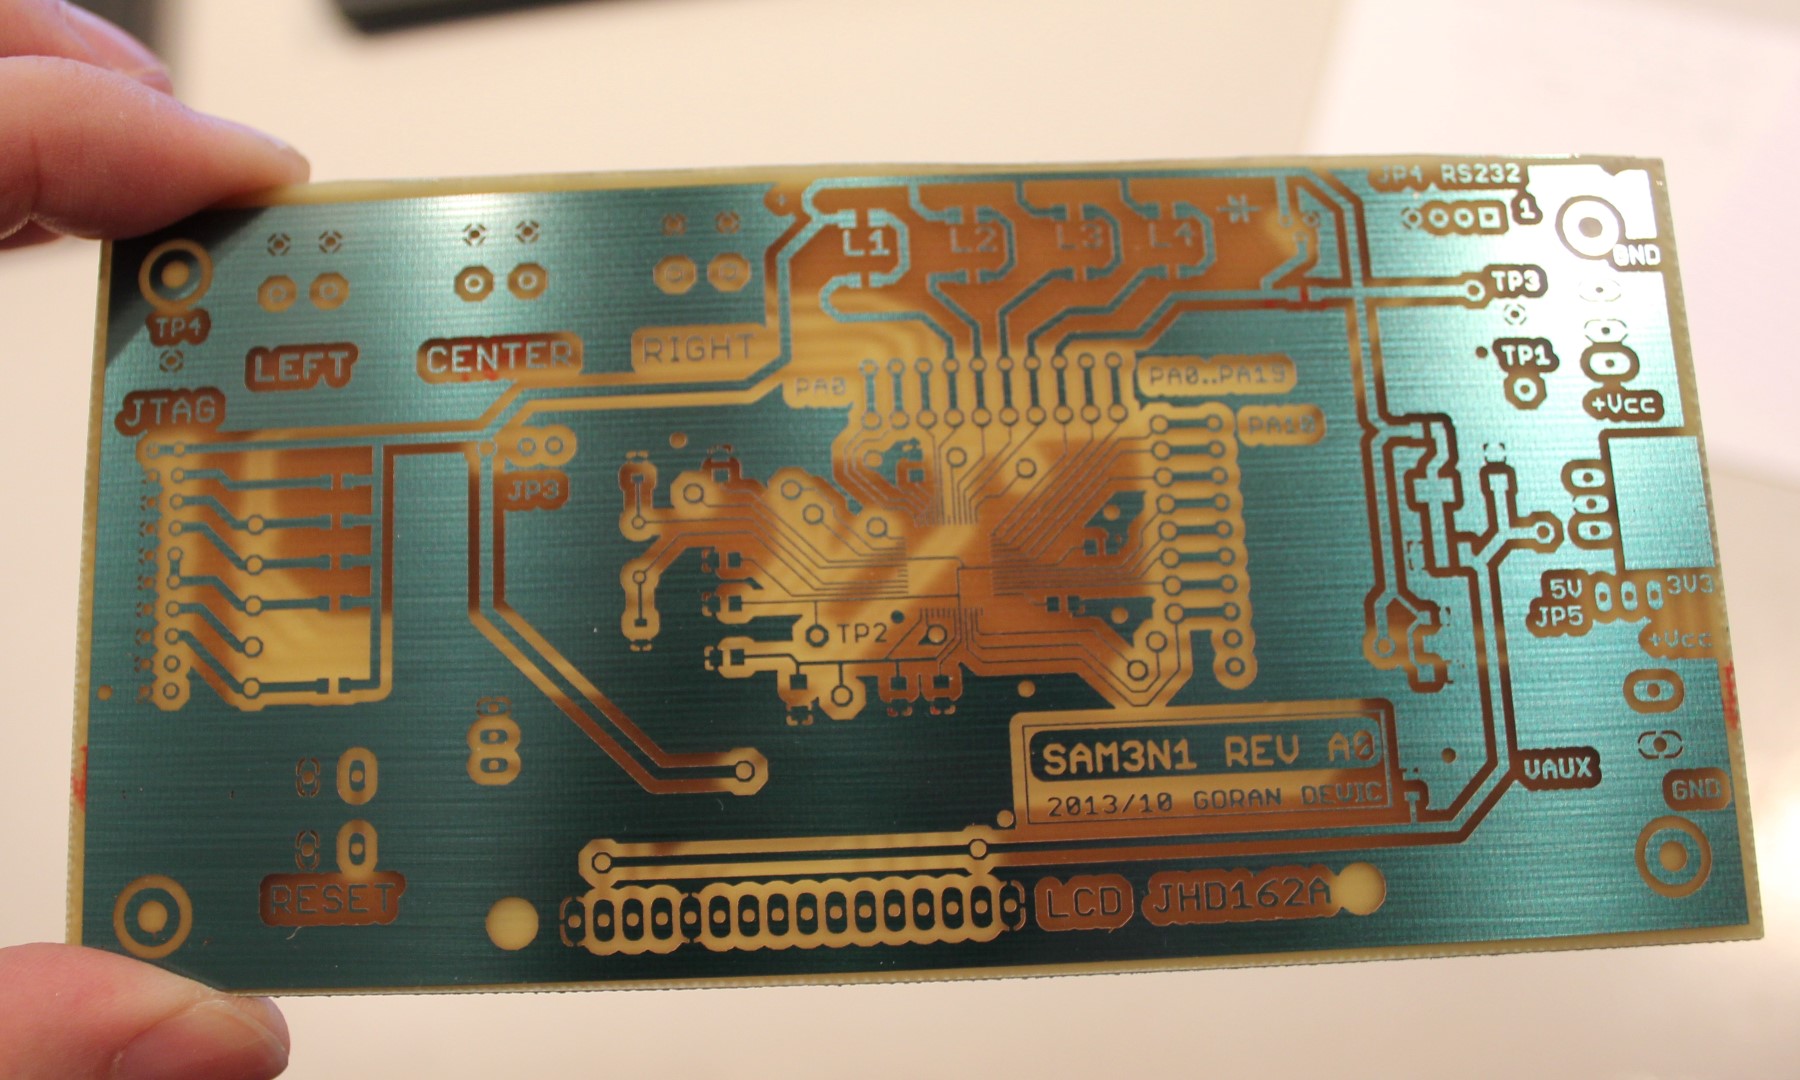
After etching, the board will still have its greenish photoresist on it. You can keep it on to protect the copper underneath from oxidation until you are ready to protect it by using some other means.
Tools: Ammonium Persulfate (MG #410), heavy-duty rubber gloves, small scale, measuring spoon, water, plastic containers, agitation (air pump and/or foam brush)