


I am using pre-sensitized FR-4 boards. You can also buy something called, “paper phenolic” board; I don’t have experience with those. I used to buy boards from a local Fry’s but lately I just pre-order them from any eBay listing (China) where I can get several for the price of one.
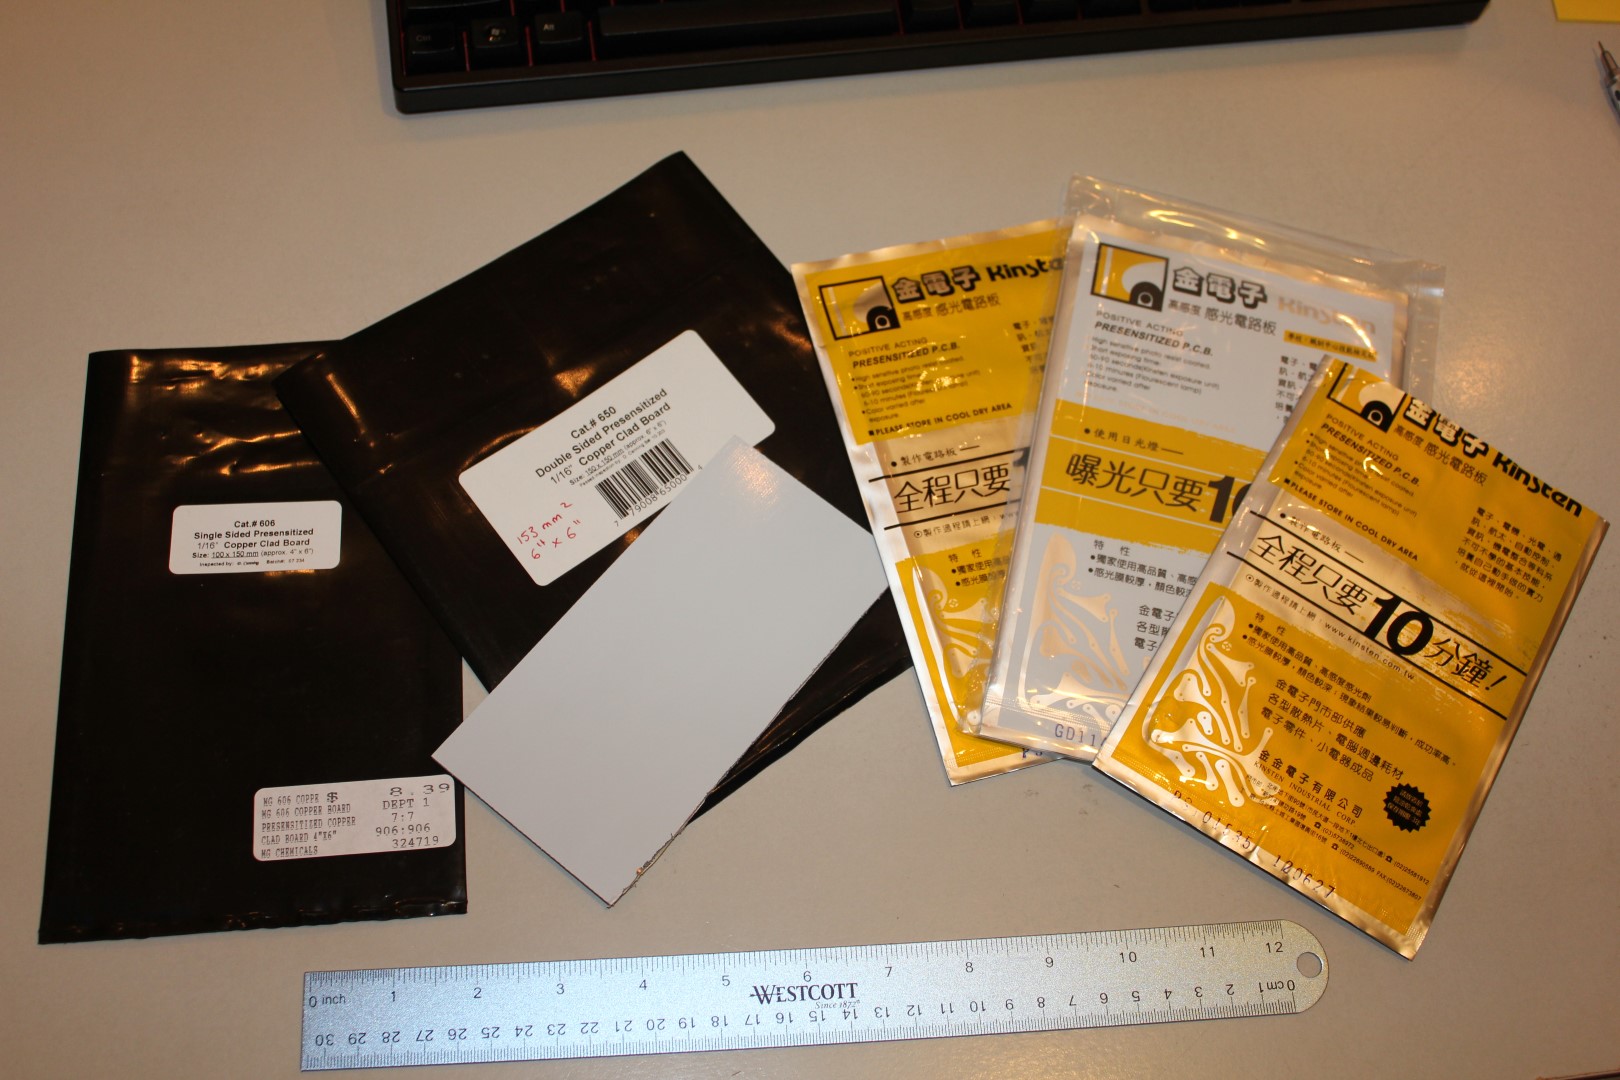
The image above shows various boards: on the left are the boards I buy at Fry’s and on the right are those ordered from China through eBay. They are all positive photoresist pre-sensitized PCBs.
Some people have success using an iron to transfer toner on a regular copper clad board. I have tried it but could never get the quality of traces that I wanted and needed to achieve. On the other hand, some people are using laminators to make their own pre-sensitized boards using an add-on photoresist sheet.
FR-4 boards are very hard to cut and they will dull your tools. Ideally, they should be cut with strong shears. In addition, most cutting methods will create a cloud of fine fiberglass dust which you should not breathe.
I still did not find the optimal FR-4 cutting solution.
This time I used a Dremel tool with the small diamond cutoff disc. It plowed through it like it was butter through the first few inches of the board but then it got completely dull. I used up a few of these discs. In the past, I used a hacksaw, but it took a long time to get through the board.
Here is a great discussion on cutting PCB:
http://electronics.stackexchange.com/questions/1151/how-do-you-cut-pcb
I condensed the information from various forums into a list of methods below. Cutting FR-4, in the order of success:
- Metal shears. FR4 are best cut with a shears.
- Band saw with a metal band saw blade
- Dremel tool with a metal cutting disc
- Nibbler tool, hand-operated or pneumatic
- Metal cutting hacksaw
FR4 will dull anything. Things that are sometimes suggested, but make no sense: scissors (will quickly dull); chisel (!?); use a glass scraping tool and then snap the board.
Whatever you do, when you cut, be careful not to scratch the board surface: the protective film does not provide mechanical protection but only protects from the light reaching the photo-sensitive coating.
I tend to be overly careful so I minimize handing of each board by keeping them in their packaging envelope until needed, dimming the lights when they are out (even while the protective film is on), and, as you will see in some images later, using gloves when handling boards after they are developed. That way, I really never had to clean them from fingerprints and oils!
Tools: Dremel tool with cutoff wheels, sandpaper. Optionally other FR-4 cutting tools (?).